Our six year old son was recently diagnosed with Autism, and we have been learning all we can to best support him.
We’ve come a long way in learning how to help him during sensory meltdowns, managing angry outburst using a calm down kit, and removing foods than can make autism symptoms worse from his diet.
Emotional regulation is difficult for most children under the age of 6 thanks to their still developing pre-frontal cortex. Heck, I’m in my thirties and I still struggle with managing my emotions from time to time.
Imagine how difficult it must be for children with lagging sensory skills and behavioral based disorders like Autism, ADHD, SPD, ODD, Anxiety, and so many others.
Weighted blankets have become increasingly popular lately, thanks to their many therapeutic benefits for sleep, anxiety, stress, restless leg syndrome, and sensory needs like those seen in Autism and SPD (1, 2, 3).
The benefits of weighted blankets and stuffed animals are because of something called deep pressure therapy. Basically, these weighted objects are a form of tactile sensory input, triggering the release of two neurotransmitters called dopamine and serotonin.
Dopamine and serotonin can help us to feel calm, relaxed, and happy.
Interestingly, children with Autism, anger, anxiety, and aggression are known to have abnormal serotonin levels (4, 5).
Studies have also found an improvement in learning behaviors like focus and staying on task in kids with Autism and ADHD thanks to using weighted objects (6, 7, 8).
A weighted teddy bear can be a great option for cuddling at night, holding on the lap for focus at school, or to help regulate big feelings during a sensory meltdown.
Buying a weighted blanket or stuffed animal can be quite costly, but luckily making your own DIY weighted stuffed animal is easy and takes only a few minutes.
How to Make a DIY Weighted Teddy Bear
Step 1: Choose your teddy bear or stuffed animal. This can be a brand new stuffed animal, or a long-time favorite.
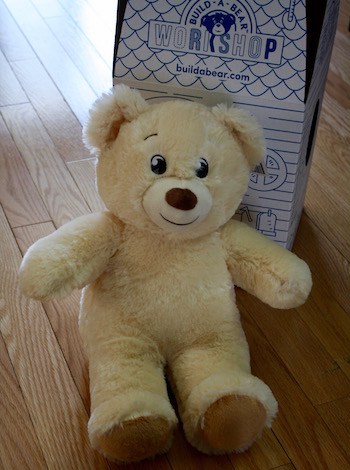
We chose to get our teddy bear from Build-A-Bear to make stitching up afterwards easy. Build-A-Bear has some great low cost options including a clearance bin, pay your age during your birthday month, and some standard low rates (ours was just $12).
Step 2: If you are using a bear from Build-A-Bear, be sure to ask that they keep the seam in the back open (usually they will pull the threads and stitch it up once it has been stuffed).
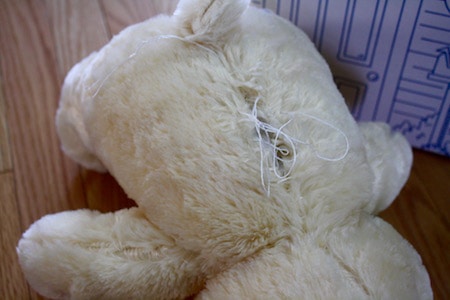
If you are using any other bear, you will need to use a seam ripper and create a small opening in the back.
Step 3: Remove the stuffing. I left only 1/4 of the stuffing to give it some fluffiness but you can choose how much to leave depending on your child’s preferences and also how heavy you want your teddy bear to be.
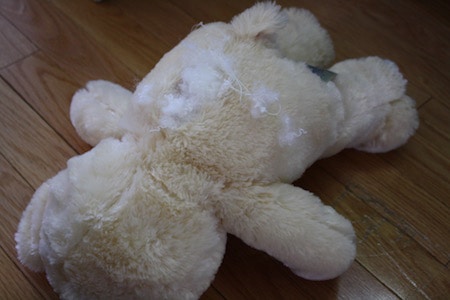
It is a lot easier to add stuffing back in once you’ve filled it with the beads (it is impossible to remove stuffing at that point).
Step 4: Time to fill the teddy bear with polly pellets. There are other options for adding weight, but poly pellets are the best since they allow the bear to be machine washable.
I recommend using a funnel and gently moving the bear in different directions to evenly disperse the pellets.
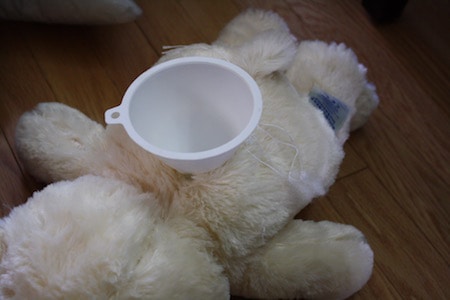
We filled our teddy bear with 2 lbs of poly pellets for a final weight of 2.5 lbs.
Step 5: Sewing up the bear! If you are using a Build-A-Bear, all you have to do is pull the seams tight and double knot it.
For all other stuffed animals, use a needle and thread to stitch up the teddy bear (tightly so the pellets don’t fall out).
Step 6: Give the teddy bear a great big squeeze and start enjoying all of the benefits of deep pressure therapy!
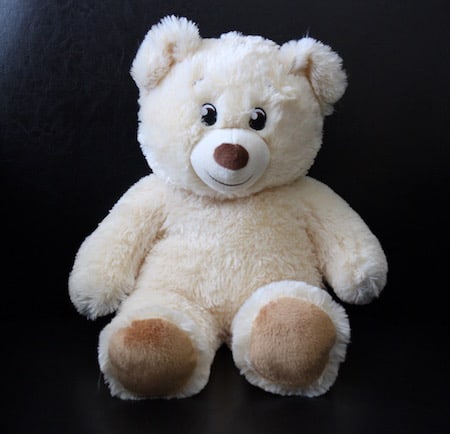
Did you make a WIY weighted stuffed animal for calming emotions? Leave us a comment below and let us know what you made!

